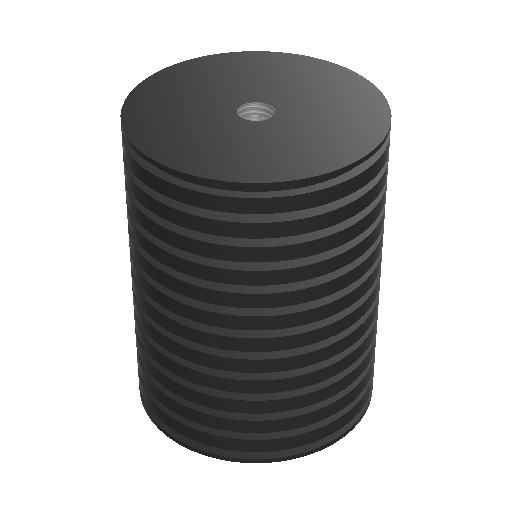
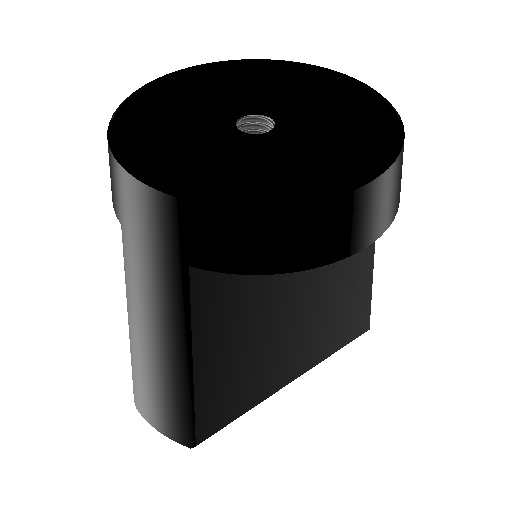
Epoxy + Mounting Pad, Phenolic Block, or Motor Fin Mount
Mounting Hardware

Instructions
-
After reading about the various mounting options and selecting a location that suits your machine application.
-
To remove all debris/dust/grease and ensure a strong bond between the mounting hardware and the metal of the machine or component, use a contact cleaner solution to clean the following:
- The mounting hardware itself.
-
The selected mounting location where the mounting hardware will contact the machine or component.
-
Locations where the curing tape will contact the machine.
-
Allow time for the contact cleaner to dry completely OR wipe clear any residual cleaner using clean shop towels.
-
Depress the black plunger of the epoxy kit to force 15ml (roughly 1/3 of the 50ml cartridge) of epoxy, through the mixing nozzle.
-
Use a tongue depressor or similar clean mixing tool to vigorously and thoroughly mix the epoxy for 30 seconds in the disposable cup. From the moment the epoxy begins mixing through the nozzle to the installation of the mounting hardware there is 2 to 4 minutes of working time @ 75°F (24°C). So Step #7 should be completed by the 4th minute.
The tip of the nozzle may also be used, in lieu of a tongue depressor, to mix the epoxy in the disposable cup.
-
Apply the epoxy to the flat side of the mounting hardware.
Be careful not to get ANY epoxy on the bolt threads or in the threaded hole while handling the sensor.
- Press the mounting hardware down on the selected mounting location. There should be enough epoxy under the mounting hardware that it pools around the edges when it is pressed down.
- Use a liberal amount of curing tape to hold the mounting hardware in place while the epoxy cures. Allow a full 10 minutes for the epoxy to cure before installing the sensor and the sensor mounting bolt. For best results, verify that nothing puts additional pressure on the sensor or mounting hardware for a full 24 hours @ room temperature, or shorter periods at higher temperatures, while the epoxy is reaching its fully cured state.
To reduce the cure time, a heat gun may be used. Hold the heat gun 4-6 inches from the epoxy while employing a gentle sweeping motion around the mounting hardware base to uniformly heat the epoxy for 10-15 minutes.
- Tighten the sensor down into the tapped hole of the mounting hardware using the instructions from the imperial/us or metric mounting bolt instructions.