Imperial/US Drill + Tap (Best Method for Frequency Response)
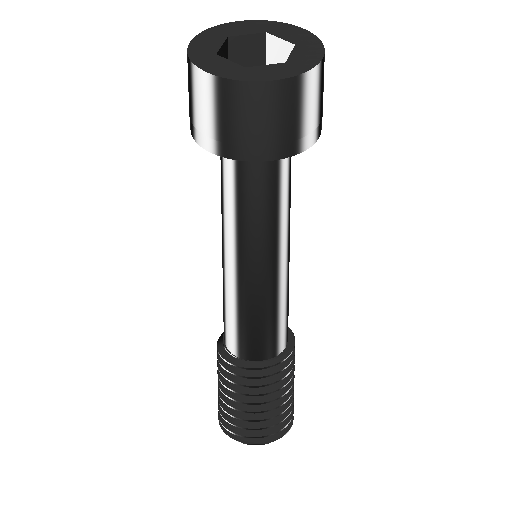
Captive Mounting Bolt 1/4"-28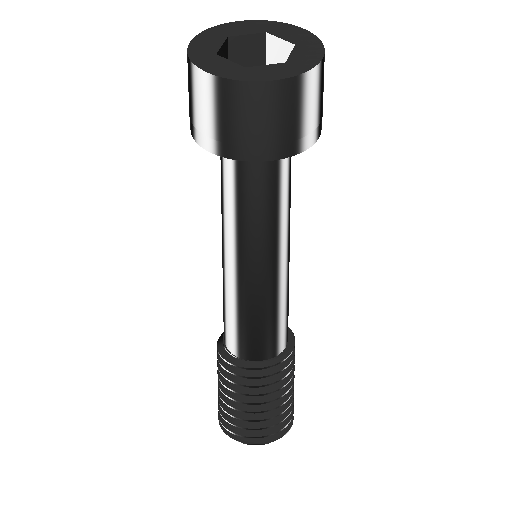
Tools Required
- Power Drill
- 3/16" Allen Wrench/Hex Key
- #3 drill bit (7/32”)
- UNF 1/4"-28 Steel Tap, 3-4 Flute, Right-Hand Thread
- Captive 1/4"-28 Mounting Bolt
- Loctite Threadlocker 242 (Blue/Removable)
- Torque Wrench
Procedure
- Choose mounting location. Accelerometer/Sensor Mounting Location Selection
- Verify the machine casing is thick enough to drill 0.3 inches (7.65mm).
If the casing is not thick enough, choose a different mounting method. - Use the #3 drill bit (7/32”) to drill into the machine casing 0.3 inches (7.65mm).
The hole should be perpendicular to the face of the machine. -
Make sure to drill a straight hole. Crooked holes can result in convolution of the triaxial signals.
- Use the UNF 1/4"-28 tap to cut the threads into the drilled hole.
Be sure to keep the tap perpendicular to the face of the machine while tapping to avoid a crooked thread. - After tapping completely to the bottom of the 0.3 inches (7.65mm), clean any metal shavings from the hole and clean with a Q-Tip and degreaser.
- Insert 3/16" Allen Wrench/Hex Key into the hex depression on the captive 1/4"-28 mounting bolt.
- Screw the 1/4"-28 mounting bolt into the TriVibe, starting on the LED side.
When completely inserted, the threaded tip of the mounting bolt should stick out of the backside of the TriVibe. - Add a dab of Loctite Threadlocker 242 to the exposed threads.
-
This step is important because, over time, movement can cause the mounting bolts to become loose and result in improper vibration levels.
- Insert the wet, loctite-ed threads into the newly tapped hole.
- Rotate the Allen Wrench/Hex Key clockwise to tighten until the torque on the Allen wrench is 25.0 lb-in (3.0 N-m).
-
DO NOT OVER TIGHTEN. Excess force can damage the TriVibe.
No Comments