Installation Tools
Required Tools
-
-
-
-
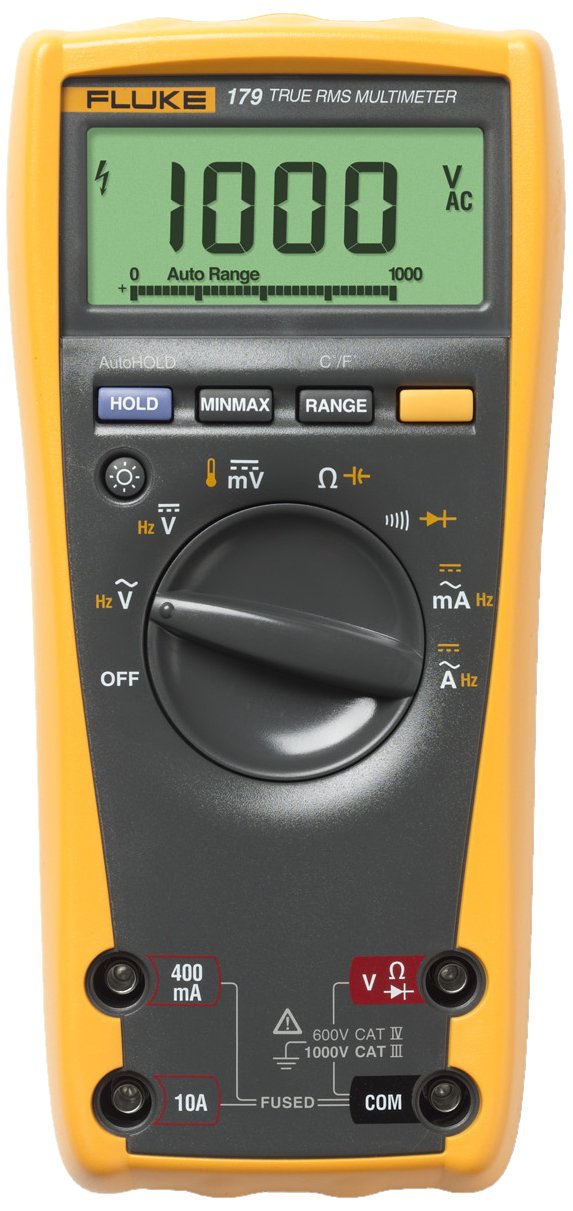
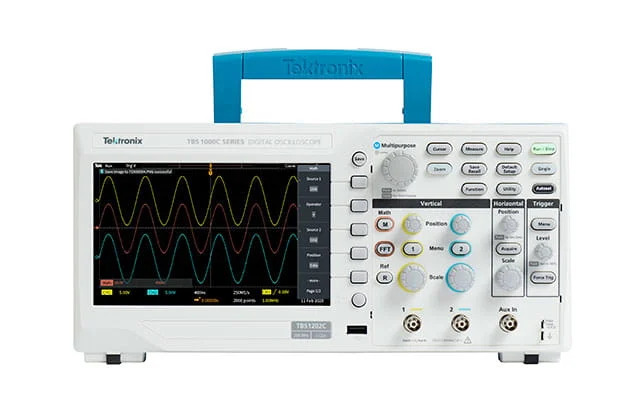
- Multimeter (Fluke 179 True RMS Multimeter Recommended)

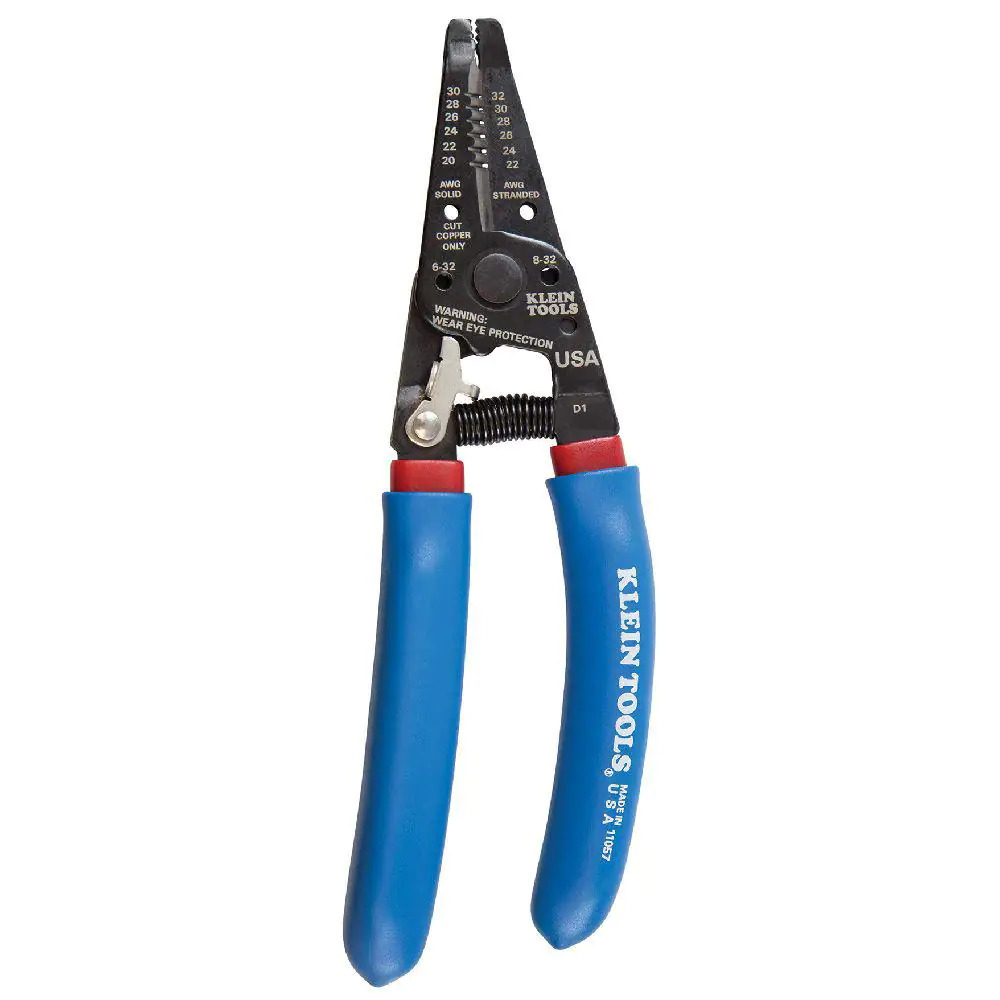
- Wire/Cable Strippers (16-26 AWG Stranded Recommended)
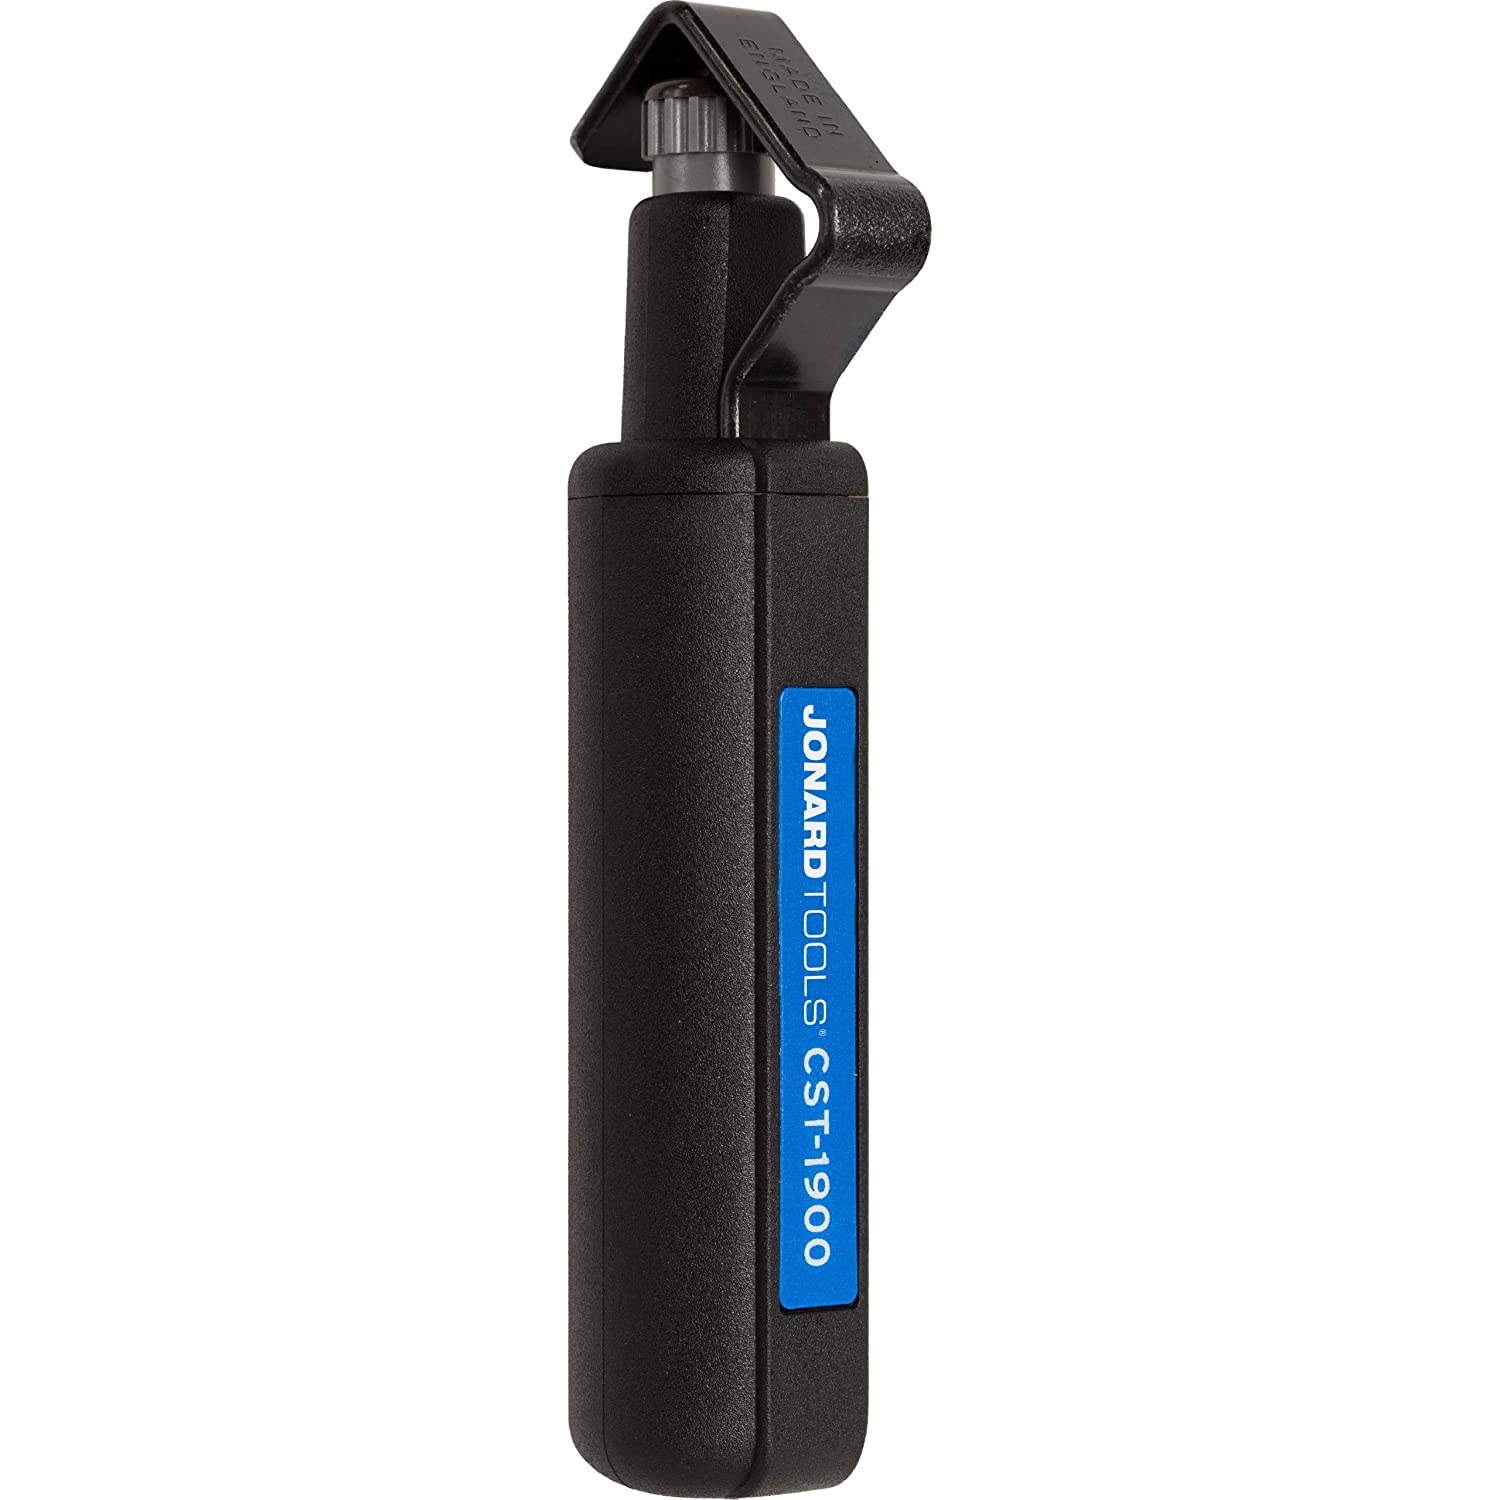
- Cable Jacket Remover (Jonard Recommended)

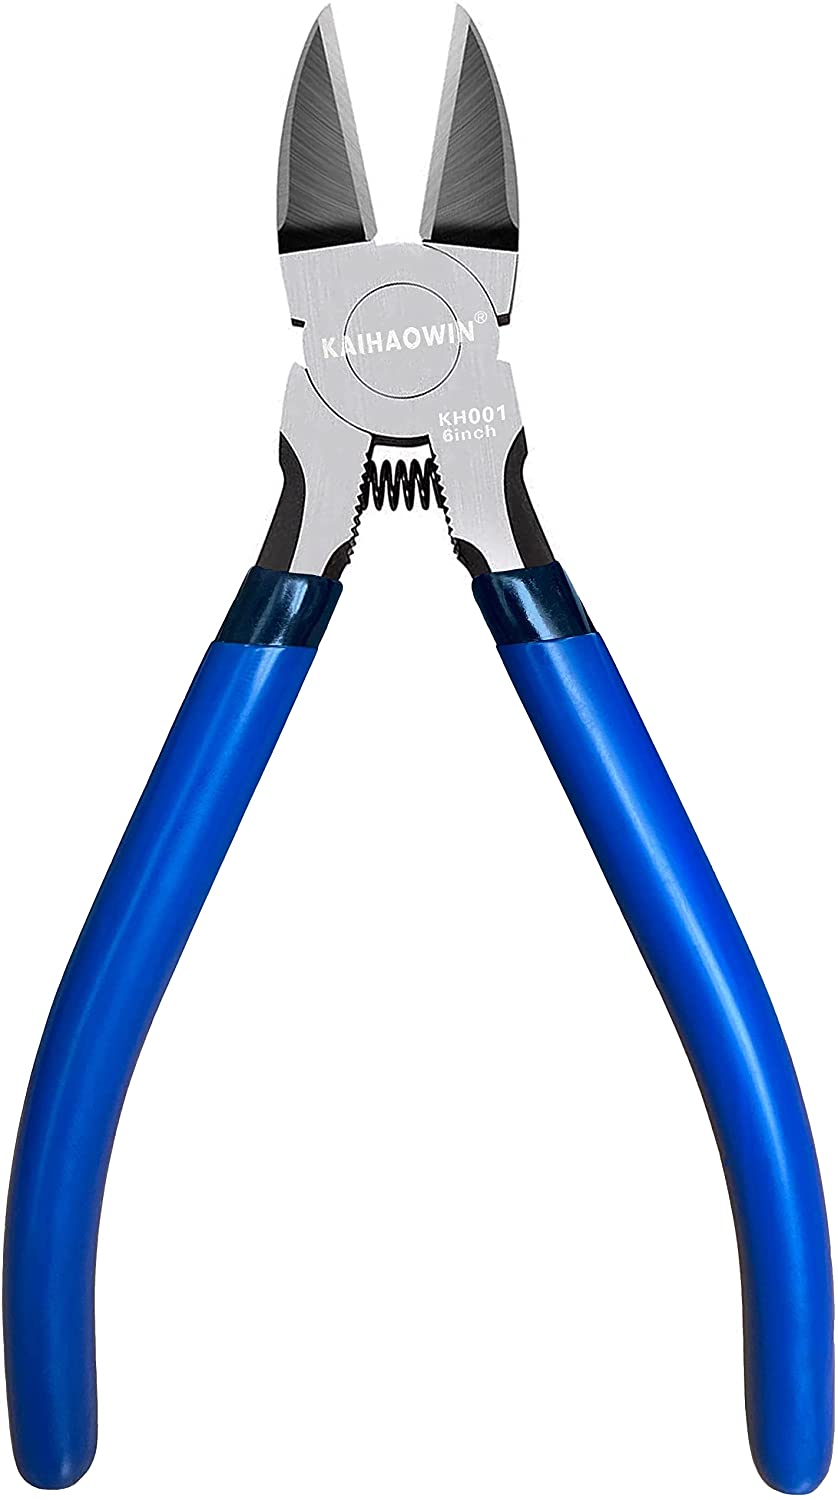
- Flush Cutter or Lineman's/Cutting Pliers

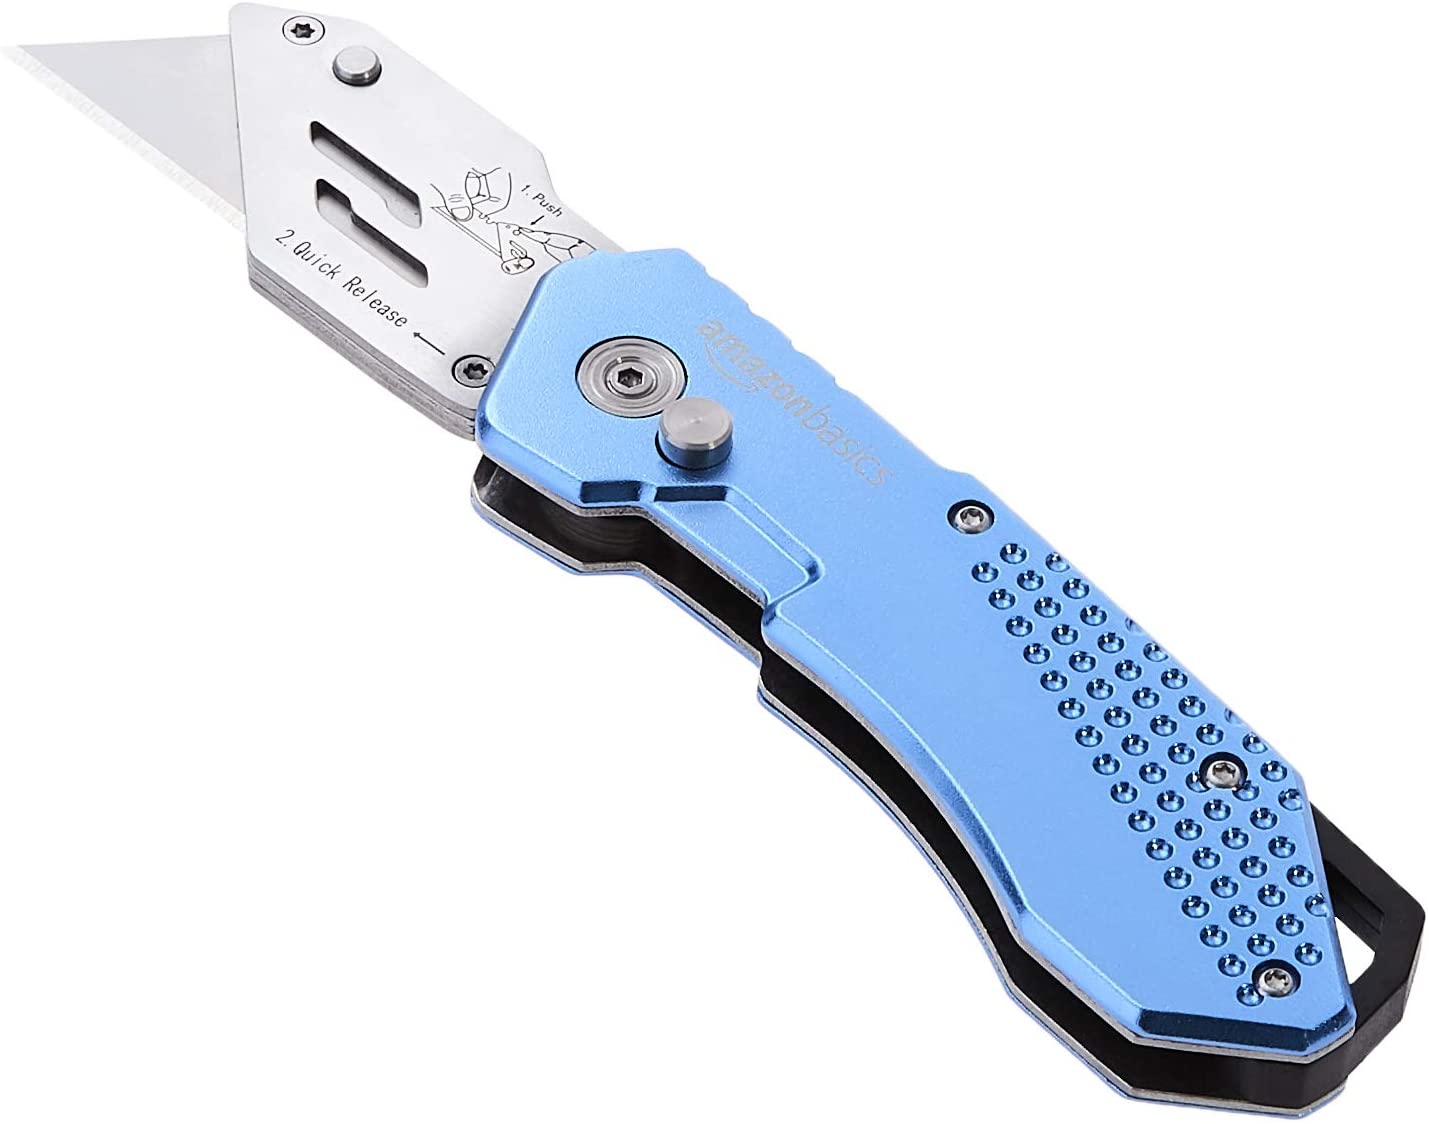
- Blade/Boxcutter/Scalpel
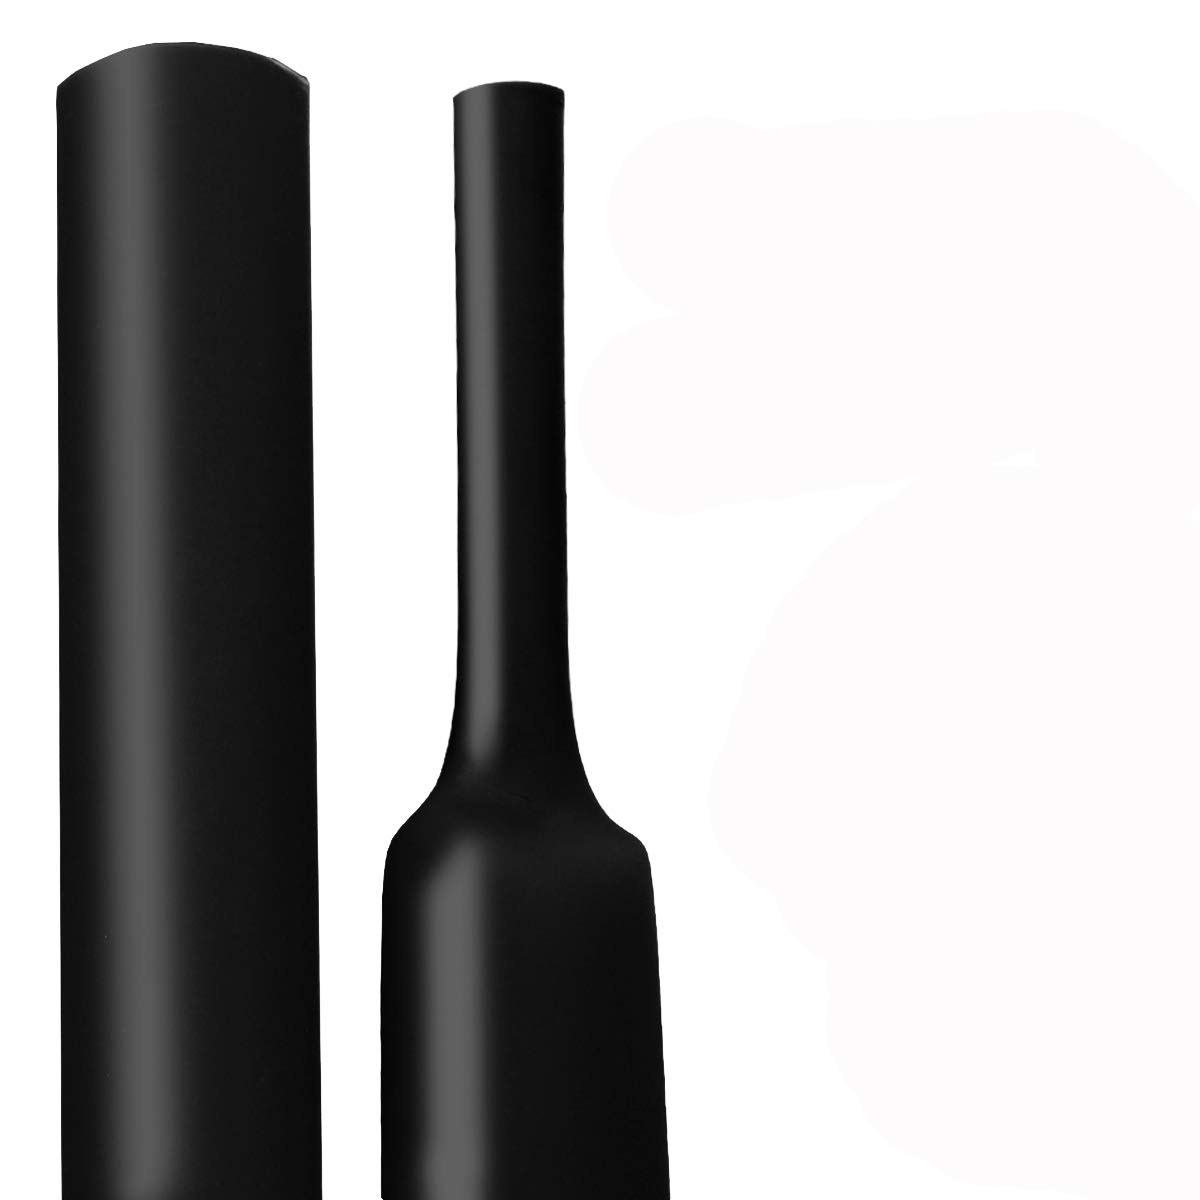
- Adhesive Lined, 1/2" Heatshrink Tubing, 3-1 Shrink Ratio

- Heat gun / Heat source

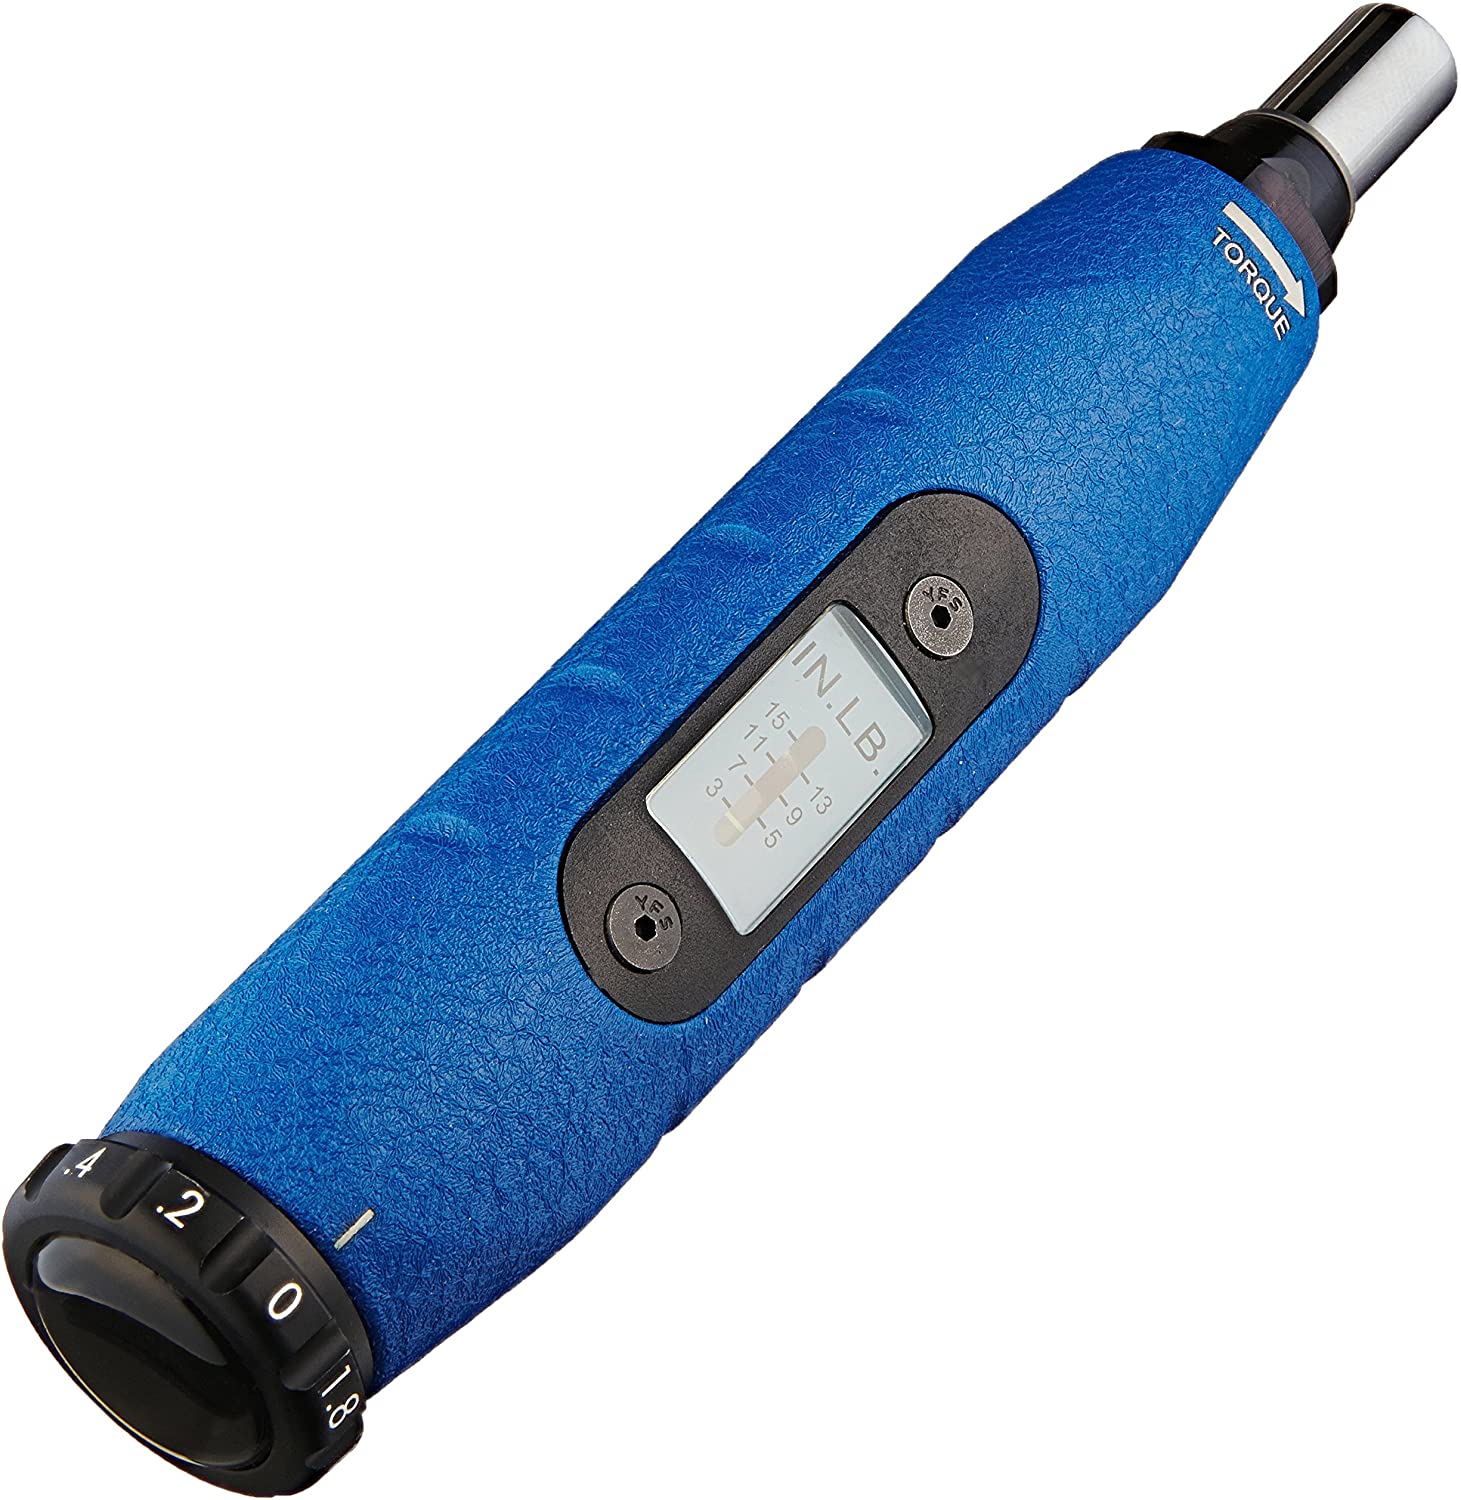
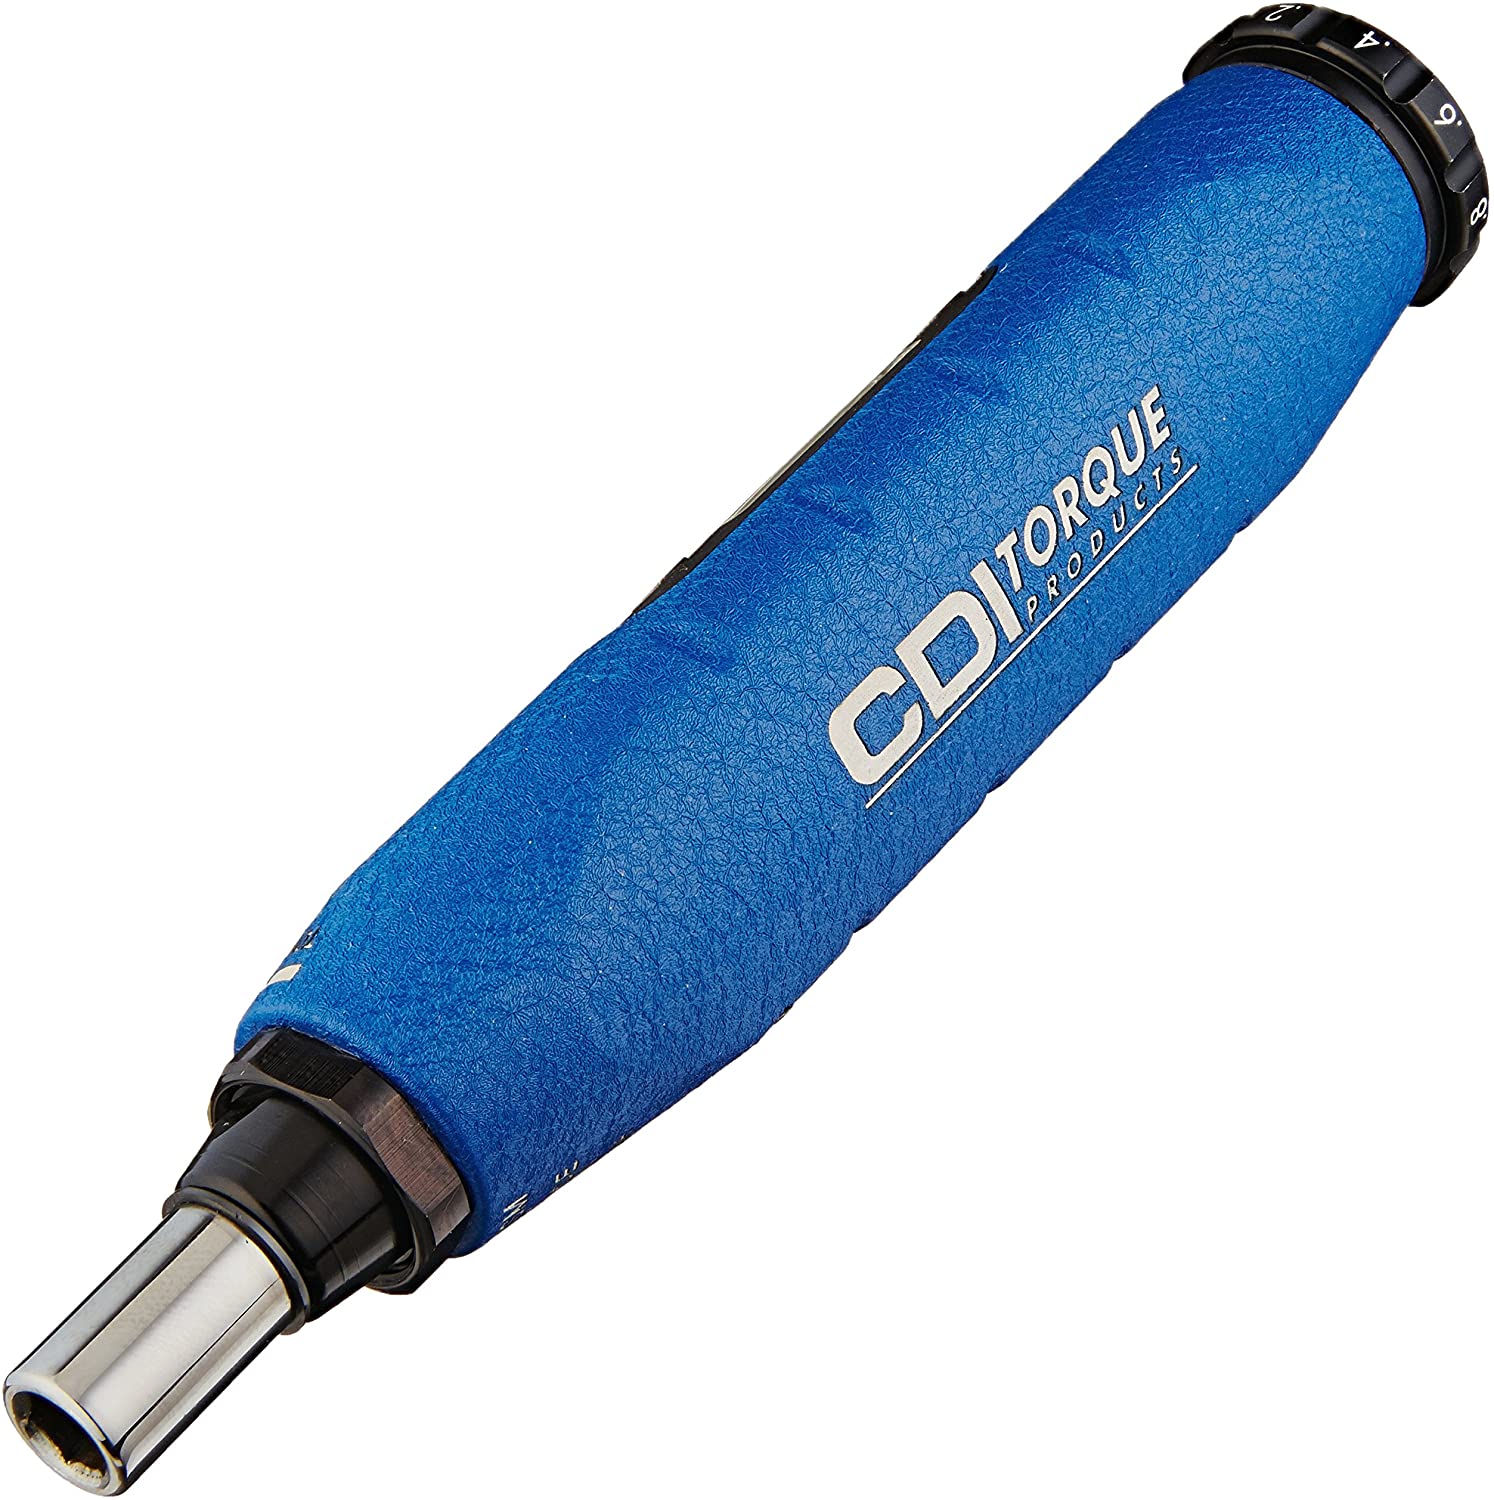
- Metric Allen Torque Wrench | 3/16" Torque-Adjustable Hex Key

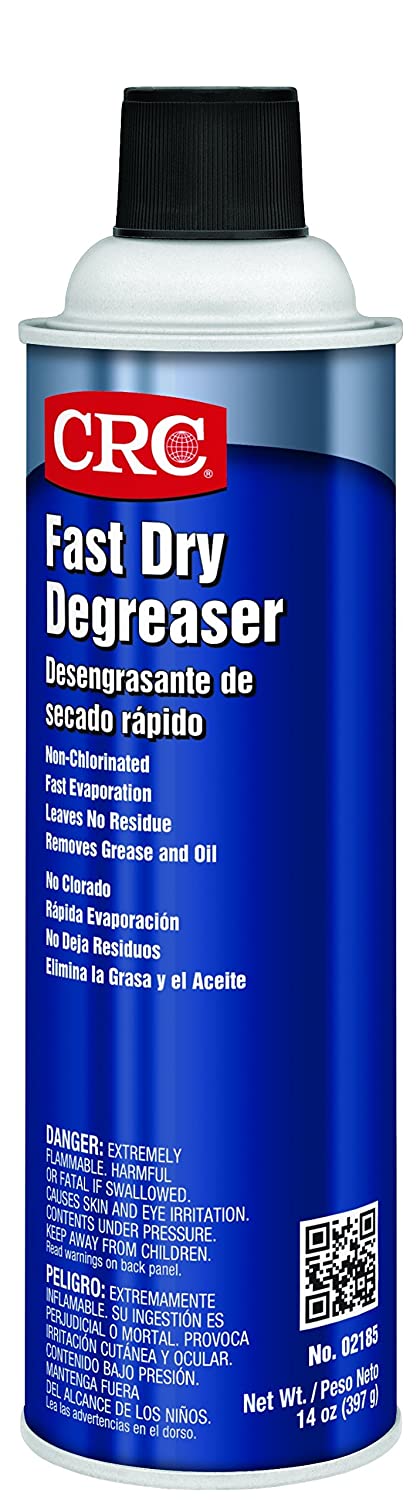
- Degreasing Kit + Shop Towels

- Locktite Blue 242 Threadlocker
- Multimeter (Fluke 179 True RMS Multimeter Recommended)
-
-
-


Tools By Mounting Method
Metric Captive Bolt | Standard Captive Bolt
-
-
-
-
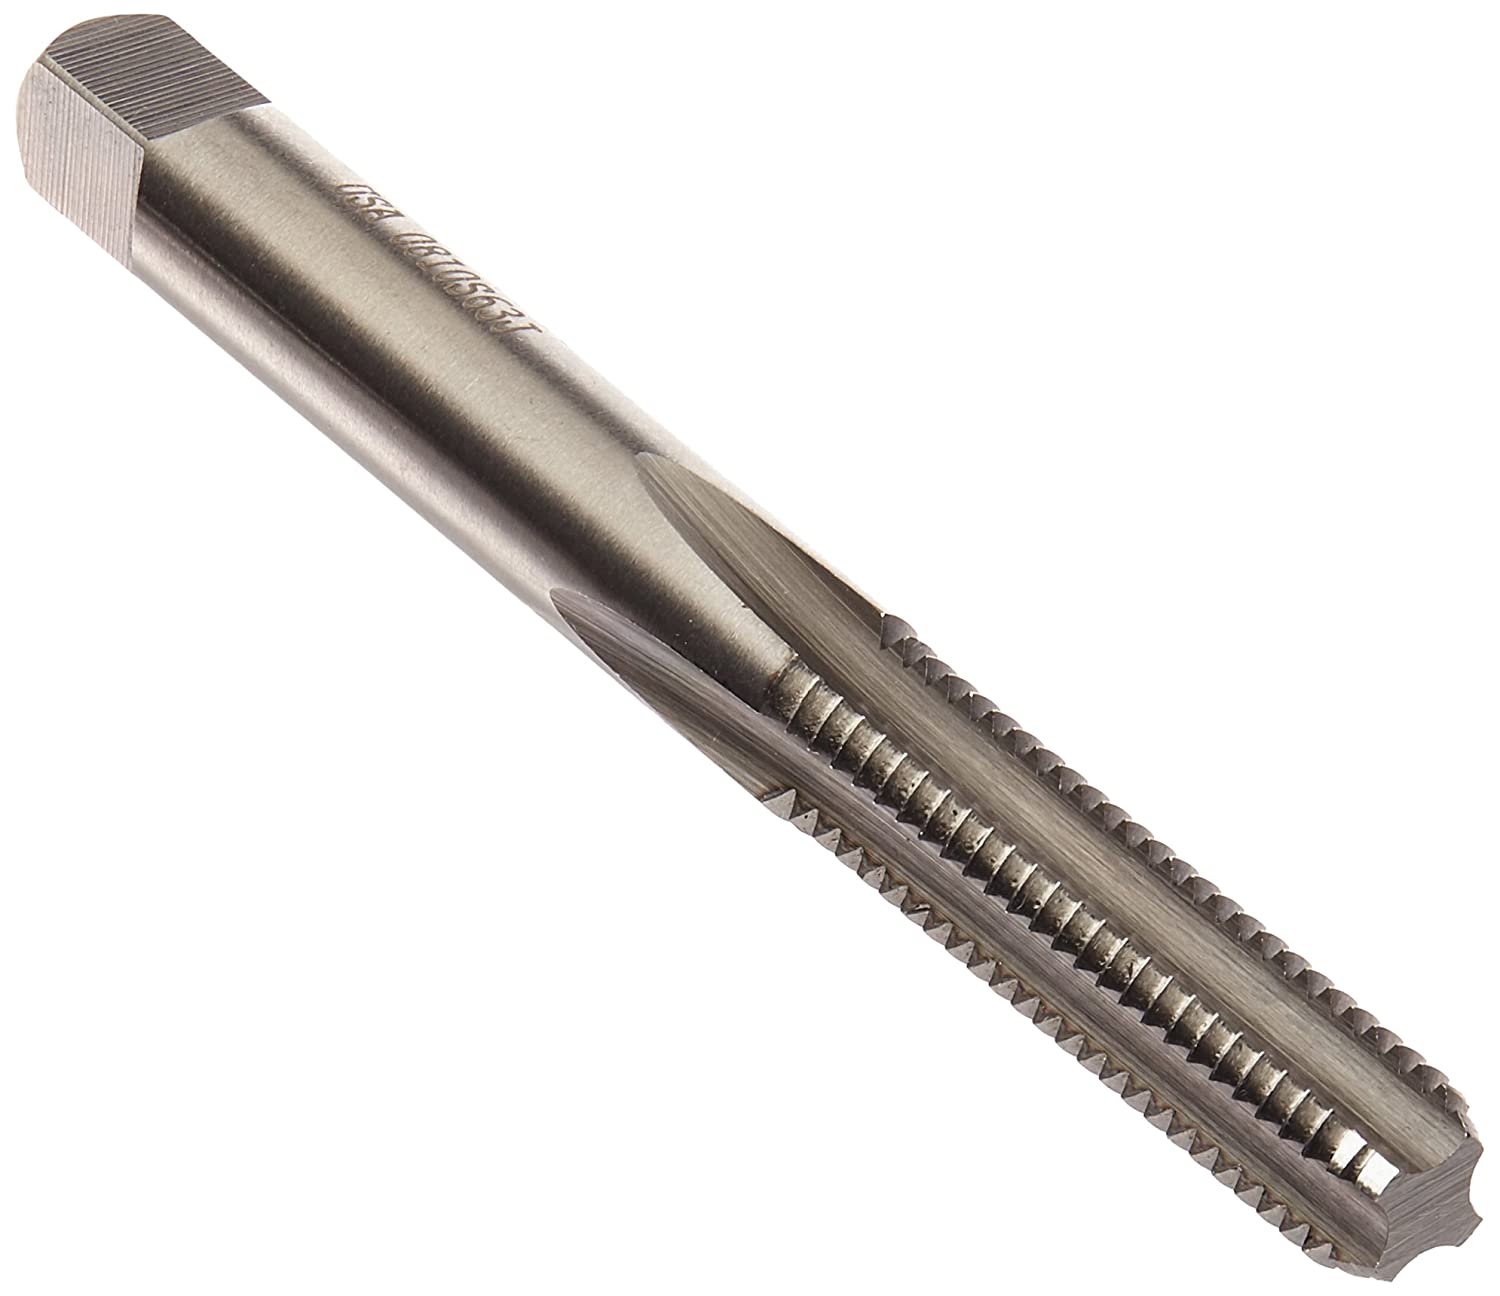
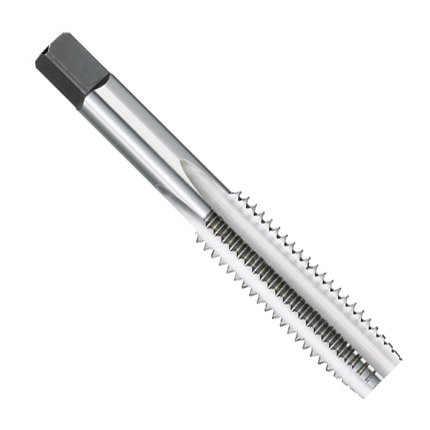
- Metric Bottoming Tap M6x1 | Standard Bottoming 1/4"-28 UNF Tap
- 5.0mm (13/64") Drill Bit | #3 drill bit (7/32”)
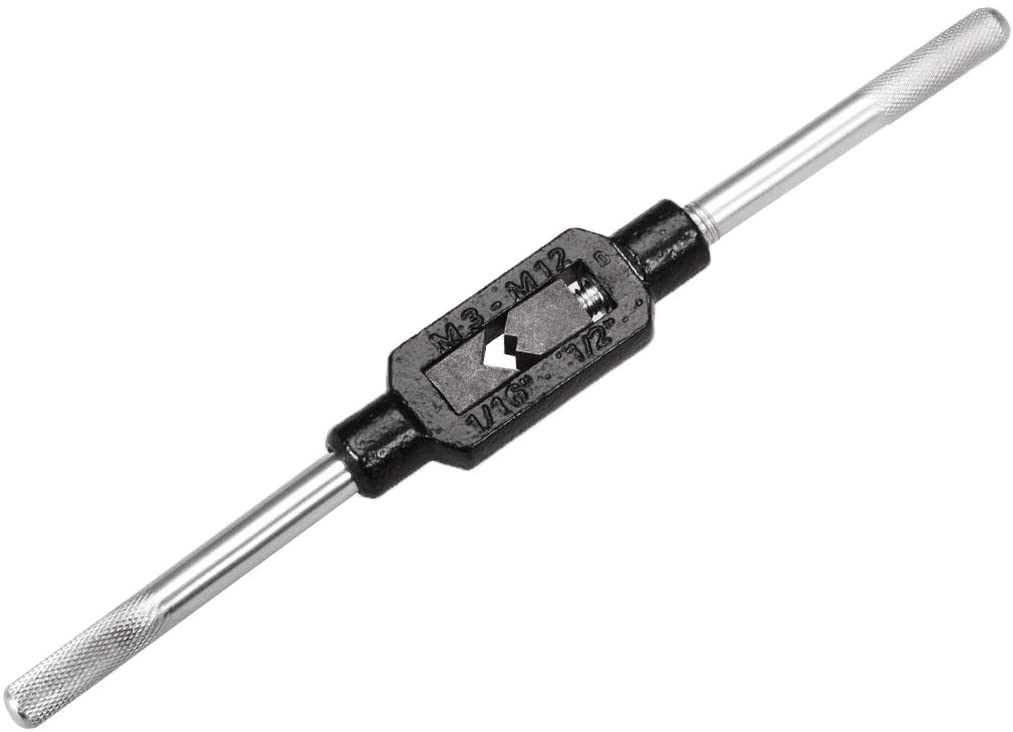
- Tap Handle
- Power Drill (We Recommend Wired and 1/2")
Note that the amp and torque requirements to cut into the case of a machine differs by case material. Select accordingly.

- Metric Bottoming Tap M6x1 | Standard Bottoming 1/4"-28 UNF Tap
-
-
-


Mounting Pad | Frenolic Block (High Heat) | Motor Fin Mount
-
-
-
- Epoxy Cartridge (50ml LORD® 403/19 Modified Acrylic Adhesive Recommended)
Note that each 50ml cartridges contain enough epoxy to mount:
~3 Mounting Pads
~2 Frenolic Blocks
~2 Motor Fin Mounts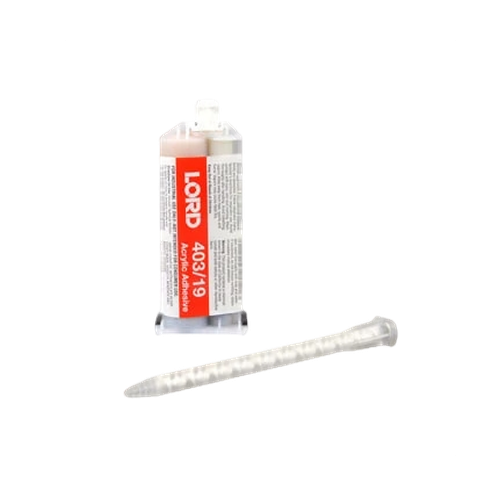
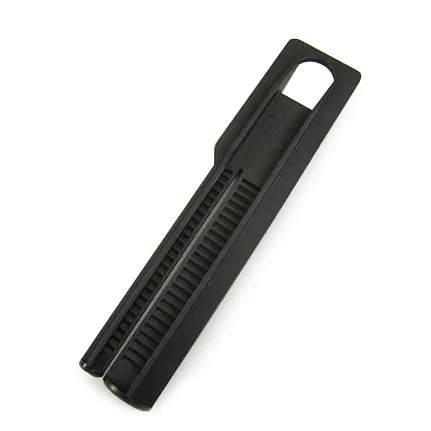
- Epoxy 4-1 Ratio Plunger (Compatible with Recommended Gun + Cartridge)
- Epoxy Gun

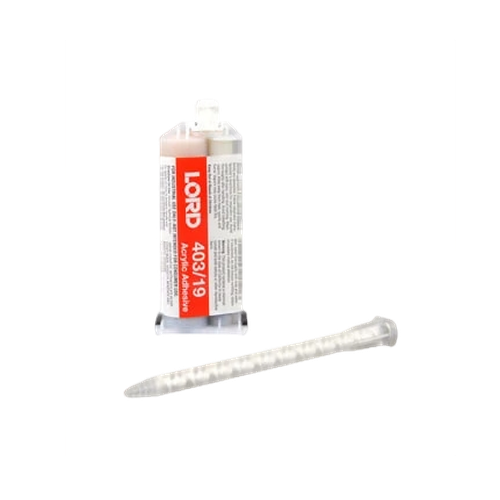
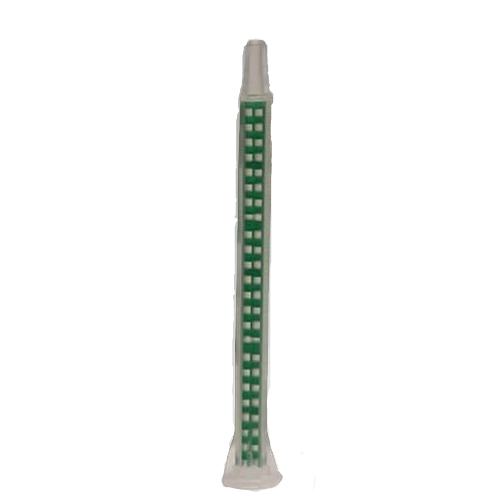
- Extra Mixer Nozzles
Note that the extra nozzles are optional but the epoxy will set within 15 minutes of sitting. If you plan to take more than 5 minutes to use the whole cartridge, you should plan on replacing the nozzle.

- Epoxy Cartridge (50ml LORD® 403/19 Modified Acrylic Adhesive Recommended)
-
-


Magnetic Mounting Pad
-
-
-
- No Additional Tools Required. Can be installed using just the required tools.
Use caution when placing the magnet on the machine. Read the mounting specific instructions before installing to avoid hurting yourself or damaging your sensors.
- No Additional Tools Required. Can be installed using just the required tools.
-
-
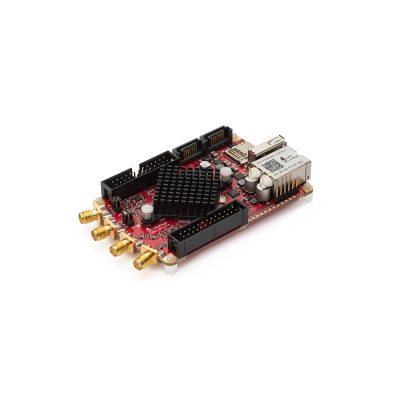
Bus Communication Verification Tools
Note that this section is specific to customers who want to use a more robust, but also more labor intensive, method to verify their RS485 Electrical Characteristics and Modbus Communications.

No Comments